Turning your yard into a “green gym” isn’t just about throwing a pull‑up bar on the lawn. It’s about designing an outdoor space that nudges you to move more, breathe deeper, and actually want to work out—because it feels like being in nature, not in a box with mirrors and fluorescent lights. When you get the layout, surfaces, and eco‑design right, your garden or backyard becomes a habit‑forming fitness space that quietly upgrades your health every day.
Below is a practical, SEO‑friendly blueprint to build your own “green gym” at home, step by step—from zoning your yard like a pro to choosing low‑impact materials and designing workouts that use trees, stones, and sunshine as your equipment.
Step 1: Map Your Yard Like a Gym Designer
Before you buy a single kettlebell, you need to understand your space. Professional outdoor gym planners start with site analysis, user flow, and zoning—you should, too.
Read your terrain
Walk your yard at different times of day and note:
- Sun and shade: Where does the morning sun hit? Where is it unbearable at 3 p.m.?
- Dry vs soggy spots: After rain, which areas drain well and which stay muddy?
- Flat vs sloped: Where is it safe to jump, lift, and balance?
Outdoor fitness design guides emphasise good drainage, level surfaces, and natural flow between zones so people aren’t dodging puddles or tripping on uneven ground.
Create simple “movement zones”
Borrow a trick from public fitness park design: cluster activities by type and intensity.
For a home green gym, think in 3–4 zones:
- Strength zone: Pull‑up bar, rings, parallel bars, a spot for kettlebells or sandbags.
- Conditioning / HIIT track: A loop or strip (gravel, pavers, or grass) for sprints, shuttle runs, or jump‑rope intervals.
- Mobility & yoga corner: A calmer area with mats under a tree, pergola, or shade sail.
- Play / skill area (optional): Balance beams, slackline, low “log” to practice stepping and hopping—great if you have kids.
Outdoor gym planners talk a lot about user flow: you want to be able to move from warm‑up to strength to stretching without zig‑zagging around obstacles. At home, that just means your path from one station to the next feels natural, not like an obstacle course in the wrong way.
Step 2: Choose Surfaces That Are Kind to Joints (and Weather‑Proof)
The ground under your feet is your most important “equipment.” Good surfaces keep you safe, comfortable, and more likely to show up when it’s wet or cold.
What the pros do
Outdoor fitness park guidelines highlight:
- Non‑slip, weather‑resistant flooring
- Proper drainage to avoid puddles and mud
- Surfaces that can handle jumping, landing, and heavy equipment
For a home green gym, you can mix:
- Grass: Great for low‑impact work (yoga, bodyweight drills), but can get slippery; consider it for your stretching / yoga zone.
- Pavers or compacted gravel: Solid and drain well—ideal for a HIIT strip, sled pulls, or agility drills.
- Recycled rubber tiles or mats: Put under heavy lifting or high‑impact areas; many garden gyms use gym‑grade rubber on a small pad within the yard.
- Wooden decking: Nice aesthetics, but make sure it has anti‑slip treatment and can be kept dry.
Pro tip: outdoor gym designers suggest grouping high‑intensity, high‑impact activities on the most forgiving surfaces and using firmer ground for balance and lifting where stability matters most.
Step 3: Build “Green” Structures Instead of Machines
A true green gym is more about clever architecture and bodyweight training than rows of machines. Designers of natural outdoor gyms often lean on reinforced wood obstacles and minimal steel rather than bulky equipment.
Core pieces for a nature‑inspired setup
From outdoor gym and garden‑gym guides, some essentials:
- Pull‑up bar / frame
- Use galvanised steel pipe or a sturdy wooden beam, securely set in concrete or metal post anchors.
- Height: ~2.4–2.8 m works for most adults.
- Parallel bars / dip station
- Great for dips, L‑sits, incline push‑ups, and rows.
- Can be made from the same pipe/wood as your pull‑up bar.
- Balance beams & low logs
- A nod to Georges Hébert’s “Méthode Naturelle” style training: walking, crouching, and hopping along narrow elements.
- Climbing / monkey bar section (if space)
- Excellent for grip strength, shoulder mobility, and kids’ play.
- Can be integrated into a pergola‑style structure.
Designers emphasise durability and weather resistance: use treated or naturally durable wood, powder‑coated steel, and stainless hardware; think “able to withstand UV, rain, and snow for years.”
If you want to push the eco angle even further, take a page from “green gym” operators who focus on simple, multifunctional layouts and minimal energy use, rather than big powered machines.
Step 4: Add Smart, Minimal Equipment (So You Actually Use It)
You don’t need to turn your yard into a warehouse. Outdoor gym designers and garden‑gym guides agree: pick versatile, compact pieces that support lots of movements.
High‑value items:
- Kettlebells or adjustable dumbbells – For squats, presses, carries, swings.
- Sandbag – deadlifts, carries, shouldering, cleans, very joint‑friendly.
- Jump rope – perfect for your HIIT strip.
- Resistance bands – attach to hooks, rails, or your pull‑up frame for rows, presses and mobility drills.
- Outdoor‑friendly mats – for yoga, core work and cool‑downs in your quiet corner.
A green‑minded design rule from eco‑fitness gyms: “multifunctional equipment with plenty of room for bodyweight exercises is prioritised.” That’s exactly how to think about your garden: less stuff, more space to move.
Step 5: Design With Shade, Weather and Comfort in Mind
If you want this to be a year‑round habit, you need to make the space comfortable across seasons.
Outdoor fitness and shade‑structure experts highlight:
- Shade and ventilation: Trees, pergolas, shade sails or cantilever structures keep sun off your eyes and your equipment cool.
- Wind and rain management: Hedges or fences can act as windbreaks; a small roofed section or awning extends usability in light rain.
- Insulation and glazing (if you’re building an enclosed garden gym room): proper insulation, double glazing and solid foundations keep the space usable year‑round and safe for heavier kit.
For a pure outdoor green gym, aim for:
- Morning sun in your strength zone (energising),
- Dappled or full shade in your yoga / recovery zone,
- A layout that avoids low, boggy areas for any high‑movement activities.
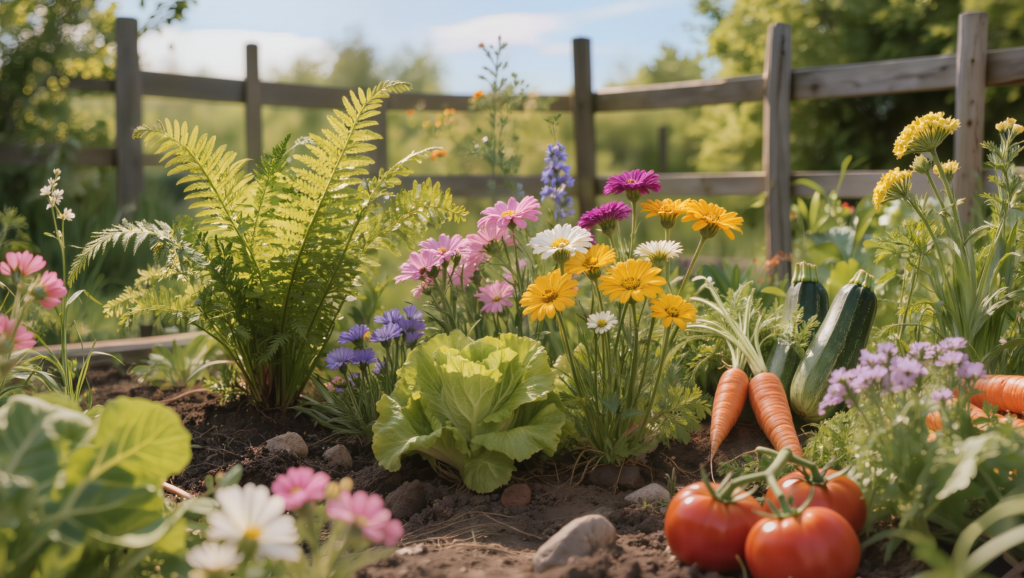
Step 6: Integrate Plants and Nature Intentionally
A “green gym” isn’t just a regular outdoor gym—it actively uses plants, natural materials and views to improve mood and reduce stress.
Some ideas inspired by eco‑outdoor‑gym design and healthy landscape planning:
- Plant native shrubs and pollinator‑friendly flowers around your workout area to attract birds and insects.
- Use logs, stones and small boulders as informal step‑up boxes, balance points, or seating, instead of plastic benches.
- Frame key sightlines from your mats or bars so you’re looking at trees, sky, or greenery—not the side of a shed.
Outdoor fitness designers also suggest using indigenous plantings to anchor the space in its local identity and create a sense of place. That’s not just pretty—it can make your gym feel like part of your ecosystem, not a foreign object plopped in the yard.
Step 7: Plan Simple Circuits So Your Yard “Coaches” You
Great outdoor fitness parks often include signage and suggested circuits so people know what to do. At home, you don’t need signs, but you do want a couple of go‑to routines that match your layout.
Example: 20–30 minute “Green Gym” circuit
- Warm‑up on the HIIT strip
- 3–5 minutes of walking lunges, light jogging, and arm circles.
- Strength block (Strength Zone) – 3 rounds
- Pull‑ups or band‑assisted rows on the bar.
- Sandbag or kettlebell squats.
- Push‑ups on the parallel bars or ground.
- Conditioning block (Track / Pavers) – 3–5 rounds
- 30 seconds jump rope, 30 seconds rest.
- Or shuttle runs between two garden markers.
- Skill / play block (Balance beams / logs)
- 5–10 minutes walking forwards, sideways and backwards along beams or logs, practising control and ankle strength.
- Cool‑down in the yoga zone
- 5–10 minutes of stretching, breathwork or a short yoga flow on your mat under a tree.
Because the stations are fixed in place, your yard itself becomes a habit cue—you step outside and the circuit almost suggests itself.
Step 8: Think Accessibility, Safety and Maintenance (Future You Will Thank You)
Pro outdoor gym designers are obsessive about safety and long‑term durability. It’s worth stealing their mindset, even for a private yard.
Key principles:
- Access & inclusivity: Make sure paths to your green gym are clear, non‑slippery, and wide enough to carry equipment or for family members of different abilities. If older relatives might use it, prioritise low step‑ups, sturdy handholds, and stable surfaces.
- Anchoring & load capacity: Any bar, frame or beam should be properly anchored (in concrete or appropriate anchors) and designed to handle well above your bodyweight.
- Weather resilience: Choose materials and finishes rated for outdoor UV and moisture; think powder‑coated steel, properly treated wood, and UV‑stable flooring.
- Drainage & cleaning: Slight slope away from structures, gravel or perforated drains where water collects, and a simple routine for sweeping leaves and rinsing surfaces.
Manufacturers and builders of garden gyms emphasise that strong foundations, durable flooring, and planning for maintenance are what keep a home gym enjoyable instead of becoming a soggy, rusty regret.
Step 9: Layer in “Green Tech” Only if It Adds Value
A green gym doesn’t need tech at all—but if you enjoy gadgets, there are some low‑impact additions that can make your setup smarter without killing the vibe.
Outdoor fitness park designers are starting to use:
- Solar‑powered lighting – to extend safe training into early mornings or evenings, without grid energy.
- QR‑code or app‑based routines – scan a code on a post to get a sample workout for each zone.
- Energy‑harvesting equipment – in commercial green gyms, some cardio kit can feed power back to the building; at home, you might experiment with a simple pedal‑powered generator if you’re enthusiastic.
For most home yards, a few solar path lights, a timer‑based string of warm LEDs around the strength area, and maybe a phone holder near your mat are plenty.
Step 10: Make It a Lifestyle, Not a Project
The magic of a green gym is not in the hardware; it’s in the way it weaves movement into your everyday life.
You can anchor that by:
- Scheduling specific “yard sessions” (e.g., 3 mornings a week before work).
- Using the space for multiple activities—kids’ play, stretching while you’re on calls, family circuits on weekends.
- Treating it as part of your mental health toolkit, not just your workout routine: a place for sunlight, fresh air and nervous‑system down‑shifting.
Design pros talk about outdoor fitness spaces as “vibrant hubs” and “multifunctional areas that move communities.” At home, your yard can be a micro‑version of that: a place where plants, sunlight, simple structures and your own bodyweight quietly replace screens, commutes and plastic machines.
Once everything’s in place, you’ll notice something funny: you stop thinking “I should go work out,” and start thinking “I could go outside for 10 minutes.” That’s when you know your yard has stopped being just a yard and become exactly what you were aiming for—a green gym, and a natural part of how you live.