Want to grow yummy veggies and beautiful flowers right in your own backyard? Building an organic raised bed garden is a super fun project, and it’s easier than you think! Think of it like building a special bed just for your plants, filled with the best, most natural food. This way, you know exactly what’s going into your food – no yucky chemicals allowed! Let’s get our hands dirty and build something amazing, step by step!
Why Build a Raised Bed, You Ask? It’s Pretty Cool!
Before we jump into the how-to, let’s talk about why raised beds are so awesome:
- Super Soil: You get to create the perfect soil mix for your plants, full of yummy organic stuff. No more worrying about hard, clay-filled dirt!
- No More Bending Over (Too Much!): Raised beds are higher up, which can be easier on your back when you’re planting and weeding. Hooray for happy backs!
- Fewer Weeds: The sides of the bed help keep pesky weeds from creeping in. Less weeding means more time for fun!
- Better Drainage: Raised beds usually drain water better than in-ground gardens, which makes your plants happy and prevents soggy roots.
- Warmer Soil: The soil in a raised bed warms up faster in the spring, so you can start planting earlier!
Step 1: Gather Your Supplies – Our Treasure Hunt List!
Before we start building, we need to collect all our tools and materials. Think of it like gathering your ingredients before baking a cake!\

- Wood: You’ll need wood for the sides of your raised bed. Untreated lumber like cedar or redwood is a great choice because it will last a long time and won’t have any harmful chemicals. You can also use reclaimed wood (wood that’s been used before). Avoid treated lumber, as it can leach chemicals into your organic soil. The amount of wood you need will depend on the size of your bed. A good starter size is about 4 feet wide by 8 feet long and 1 foot tall.
- Screws or Nails: You’ll need these to hold the wood together. Choose screws that are designed for outdoor use.
- Landscape Fabric or Cardboard (Optional): This goes at the bottom of the bed to help block weeds from growing up from the ground. Plain cardboard (without glossy print or tape) works great and will eventually decompose, adding more good stuff to your soil.
- Organic Soil Mix: This is the star of the show! You’ll need a mix of things like:
- Topsoil: The regular dirt from your yard (if it’s not too bad).
- Compost: This is like black gold for your garden! It’s made from decomposed food scraps and yard waste and is full of nutrients. You can buy it or make your own! [Source: EPA Guide to Composting at Home – (Find a kid-friendly EPA link about home composting.)]
- Peat Moss or Coco Coir: These help the soil hold moisture and stay loose. Coco coir is a more sustainable option than peat moss.
- Perlite or Vermiculite: These tiny white rocks help with drainage and airflow in the soil.
- Tools:
- Measuring Tape: To measure your wood.
- Saw: To cut the wood (ask a grown-up for help with this!).
- Drill (if using screws) or Hammer (if using nails): To put the wood together (again, grown-up supervision is key!).
- Shovel or Garden Fork: To move soil and mix things.
- Gloves: To keep your hands clean and protected.
- Level (Optional but helpful): To make sure your bed is nice and even.
Step 2: Choose the Perfect Spot – Location, Location, Location!
Just like picking the best spot for your bed in your room, choosing the right place for your raised garden bed is super important for your plants’

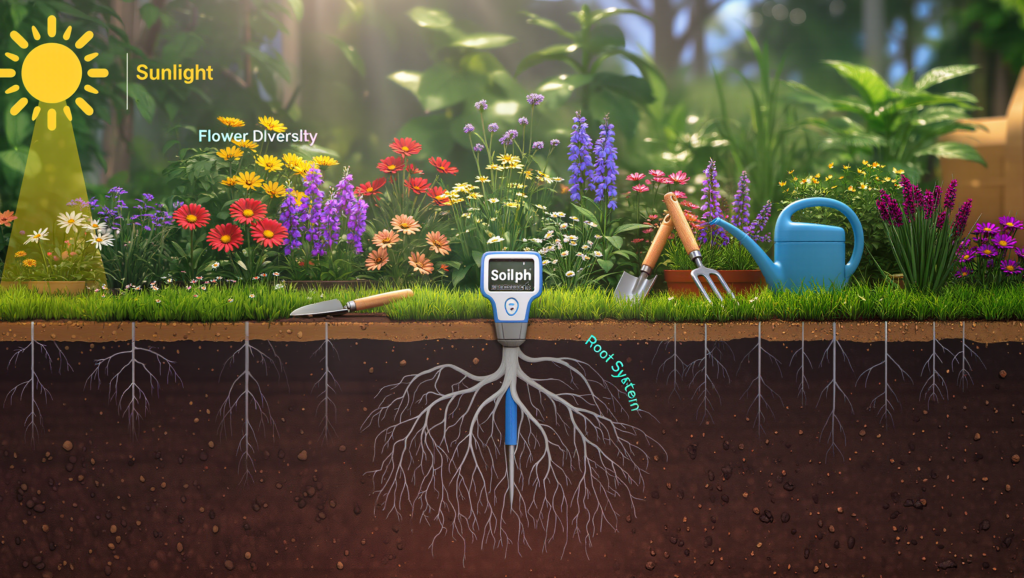
- Sunshine: Most veggies need at least 6-8 hours of sunlight each day. Pick a spot in your yard that gets plenty of sunshine. Watch your yard throughout the day to see where the sun shines the longest.
- Water Access: You’ll need to water your plants regularly, so choose a spot that’s close to a hose or where you can easily carry water.
- Level Ground: While you’re building a raised bed, starting on relatively level ground will make things much easier. If your yard is sloped, you might need to do a little extra work to level the area.
Step 3: Build the Frame – Let’s Get Constructing!
Now for the fun part – putting the wood together to make the frame of your raised bed! Remember to ask a grown-up to help with cutting and using tools if you need it
.
- Measure and Cut: Decide on the size you want your raised bed to be. A common size is 4 feet wide by 8 feet long. Cut your wood pieces to the correct lengths using the saw. For a bed that’s 1 foot tall, you’ll need two pieces that are 4 feet long and two pieces that are 8 feet long.
- Assemble the Sides: Stand two of the longer pieces of wood (the 8-foot pieces in our example) on their edges. Take one of the shorter pieces (the 4-foot piece) and line it up with the end of one of the longer pieces. Use your drill and screws (or hammer and nails) to attach the shorter piece to the end of the longer piece. Do the same thing to attach the other end of the shorter piece to the other long piece. You should now have a “U” shape
- .

- Complete the Rectangle: Take the remaining short piece of wood and attach it to the open ends of the two long pieces in the same way you did before. Now you should have a rectangular frame!

- Add Corner Braces (Optional but Recommended): For extra strength, you can add small pieces of wood to the inside corners of your raised bed. Cut four small triangular or square pieces of wood and screw or nail them into the corners where the sides meet. This will help prevent the sides from bowing out when you fill the bed with soil.

Step 4: Prepare the Bottom – Blocking Those Pesky Weeds!
Now that you have your frame, it’s time to prepare the bottom of the bed:
- Clear the Area: Remove any grass or weeds from the area where you’re placing your raised bed.
- Lay Down Landscape Fabric or Cardboard: If you’re using landscape fabric, roll it out over the bottom of the area where the bed will go. It should slightly overlap the edges of where the frame will sit. If you’re using cardboard, lay down a layer of flattened cardboard boxes, making sure there are no gaps.
- Place the Frame: Carefully lift your wooden frame and place it on top of the landscape fabric or cardboard.

- Secure the Landscape Fabric (Optional): If you’re using landscape fabric, you can staple it to the inside bottom edges of the wooden frame to hold it in place.
Step 5: Fill It Up with Organic Goodness – Soil Super Mix Time!
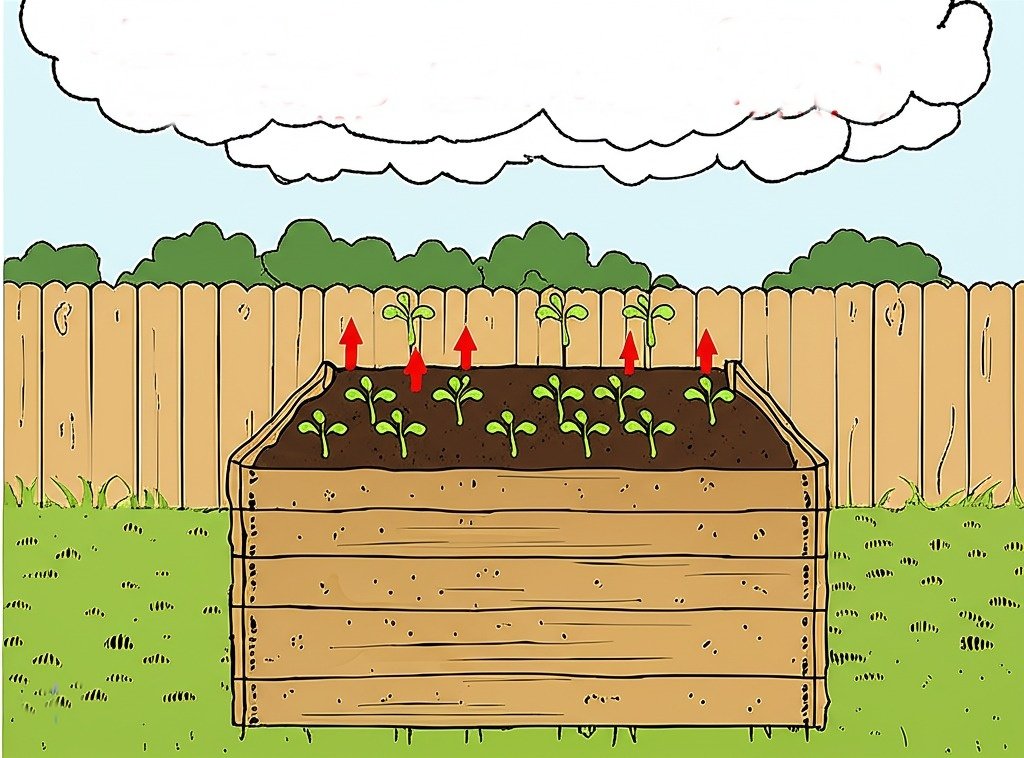
This is where the magic happens! We’re going to fill our raised bed with a wonderful mix of organic materials that your plants will love.
- Layering (The Lasagna Method – Optional but Great!): Some gardeners like to create layers of organic materials at the bottom of their raised beds. This helps with drainage and slowly releases nutrients as it decomposes. You can layer things like:
- Coarse Woody Material: Small branches, twigs, or wood chips (this helps with drainage).
- Brown Materials: Dried leaves, straw, or shredded newspaper (these are high in carbon).
- Green Materials: Grass clippings (untreated!), kitchen scraps (no meat or dairy), or coffee grounds (these are high in nitrogen).

- Add Your Soil Mix: Now it’s time to add your organic soil mix. Remember our recipe? A good mix is usually about:
- 1/3 Topsoil
- 1/3 Compost
- 1/3 Peat Moss or Coco Coir and Perlite/Vermiculite Mix
- Fill It Up (Almost!): Fill your raised bed with the organic soil mix until it’s a few inches below the top edge. This will give you some room when you’re watering so the soil doesn’t spill over.

- Water It Gently: Once your raised bed is filled, give it a gentle watering to help settle the soil.
Step 6: Get Planting! The Fun Finale!
Congratulations! You’ve built your very own organic raised bed garden! Now for the most exciting part – planting! 
- Choose Your Plants: Decide what you want to grow! Veggies like tomatoes, lettuce, peppers, and carrots do great in raised beds. You can also grow herbs and flowers.
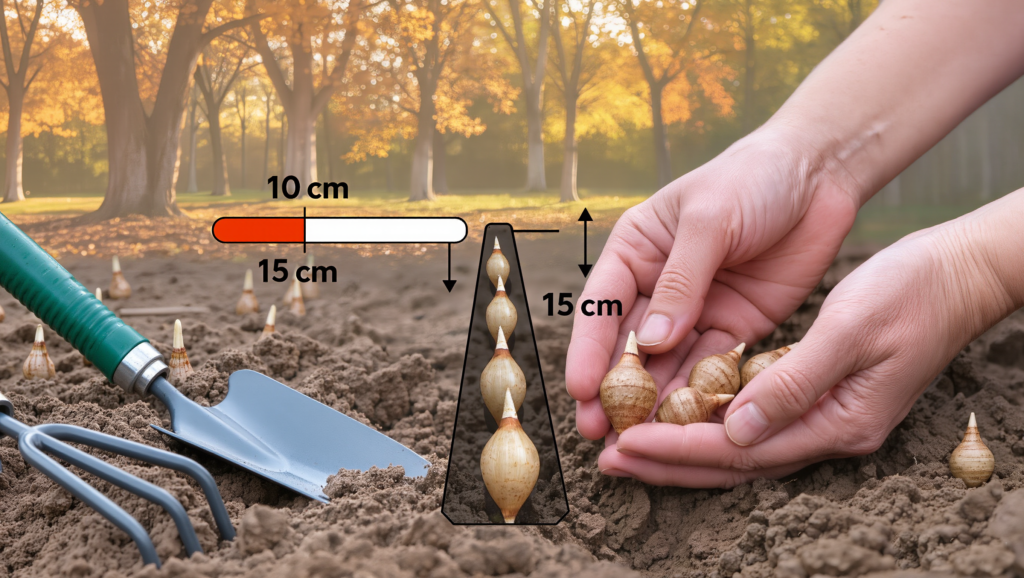
- Follow Planting Instructions: When you get your seeds or seedlings (small starter plants), read the instructions on the package or tag. They’ll tell you how much space to leave between each plant and how deep to plant them.
- Dig Small Holes: Use your fingers or a small trowel to dig holes in the soil for your plants.


